
Use the Bank’s Bury action
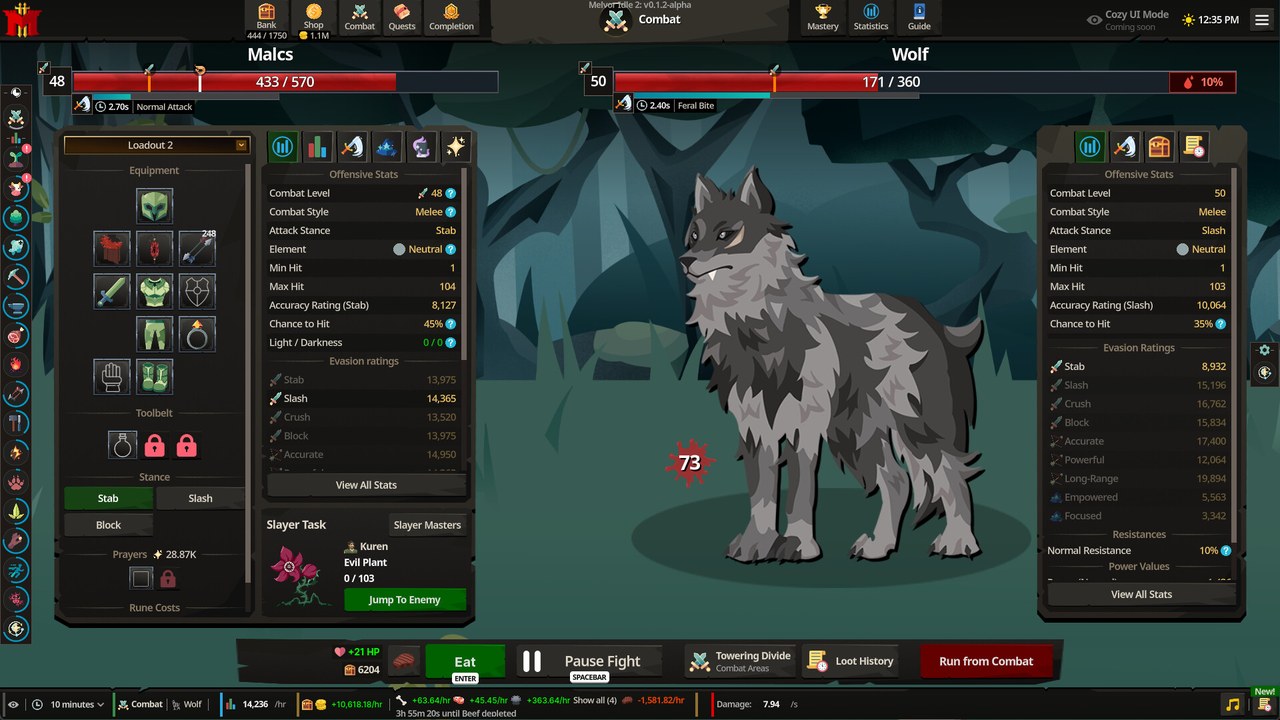
The clearest recharge instruction in the collected sequel tutorial is to take combat bones to the Bank and bury them. Start by selecting the bone item rather than looking for an unrelated combat setting or assuming a RuneScape altar is required. Inspect the item’s available action and its description before confirming the conversion. The documented action adds Prayer Points, which are the resource you need when the point supply has run low.
Keep the item identity and the number you intend to use separate from the general instruction. The research confirms the Bury route but does not establish that every bone-like item in every later build has an identical value. Check the information shown for the selected item in your installed game. That gives you a grounded way to replenish points without importing a conversion table from the original Melvor Idle.
Understand Prayer Points versus Prayer XP
Prayer Points and Prayer XP answer different progression questions. Points are spent to maintain active prayers, while the extracted tutorial describes earning Prayer XP by using prayers in combat. Burying an item to refill the point supply therefore should not be described as directly granting a corresponding number of Prayer levels. If the point total rises while the skill level does not, those two observations are not inherently contradictory.
This distinction also changes how you assess a farming suggestion. A method that supplies points is not automatically the fastest way to train the Prayer skill, because training involves how those points are used. Conversely, a combat setup that spends points quickly does not by itself explain how to replace the supply. Identify whether your immediate goal is recharging, conserving points or gaining XP before comparing advice.
Check the Firemaking alternative
The sequel’s extracted Combat tutorial names Firemaking as another way to obtain Prayer Points. Its Firemaking tutorial describes burning special Prayer-related combat items rather than treating every ordinary burning action as an interchangeable source. Inspect the relevant item and recipe available in your build before committing materials. The existence of this alternative does not establish a universal best recipe or a guaranteed point yield for an unnamed item.
Use the same distinction between resource production and skill training when considering Firemaking. The useful question is what the selected action actually provides and what it consumes, not whether an older guide associates fire with Prayer in general. The supplied research does not verify first-game urn recipes as a sequel method. A recognizable mechanic from another game is not a sufficient reason to add an unsupported step to the recharge instructions.
Read point yields with their version label
A demo Bone record grants one Prayer Point, and a second demo-derived guide independently matches that value. That is useful evidence for the demo item rather than a measured statement about every bone in the current paid build. This page therefore keeps the exact yield attached to its historical version. Use the selected item’s live description if you need to calculate how much a current stack will provide.
Avoid extending the one-point record into a complete point economy. It does not establish current drops per hour, the best enemy to farm or the total time needed to supply a particular prayer setup. Those outcomes would depend on more information than a single item record provides. The practical starting method remains collecting the relevant items, inspecting their conversion and using the documented Bank action.
Interpret the depletion tracker carefully
The official Early Access patch notes include a fix for the tracker’s incorrect Prayer Point depletion time. An exhaustion estimate from an older screenshot may therefore be unreliable even if the player accurately copied what the interface displayed. Keep a displayed prediction separate from an observed change in the resource total. When reading an old guide, check whether it predates the launch fix before relying on its claimed remaining duration.
The tracker fix is specific evidence about the display; it is not a published explanation of a new recharge formula. It also does not prove passive regeneration or establish a way to sustain every active prayer indefinitely. Compare what your current interface says with the action you selected and the resource it consumes. For questions about the separate Ward combat resource, use the Ward damage explanation instead.
Build a useful recharge routine
A practical routine is to identify the combat items you are saving for Prayer and keep them easy to find in the Bank. Review the Bury action or the eligible Firemaking recipe before consuming them, then check the resulting point supply. This is a planning suggestion based on the documented routes, not an additional hidden mechanic. The Bank configuration guide explains how a review tab can help organize items with several possible uses.
No reproducible current-build benchmark in the supplied material establishes a fastest Prayer Point farm. For that reason, this guide does not promise a number of points per hour or prescribe a named enemy as the universal answer. Use the available recharge method first and keep any comparison tied to the actual version and selected item. That resolves the immediate resource problem without turning an uncertain optimization claim into a required step.
Check what changed before calling recharge broken
A point refill, a skill-level change and a tracker estimate are three different things to inspect. If Bury increases the point supply but the Prayer level stays the same, the documented distinction between points and XP explains why that can happen. If only the predicted depletion duration looks different, remember the launch tracker fix. Identify which observation concerns you before applying a remedy intended for another part of the system.
This approach keeps a straightforward recharge question from becoming a search for an unsupported new mechanic. The collected tutorial already supplies the Bank action and an eligible Firemaking alternative. It does not require inventing passive regeneration or transferring an altar procedure from RuneScape. Use the supported action, inspect the result in the appropriate resource and keep any exact yield tied to its version.
Frequently Asked Questions
Do I need to find an altar to recharge?
The collected sequel tutorial directs players to bury bones through the Bank. It also describes an eligible Firemaking route. It does not establish a RuneScape-style altar requirement for this recharge method.
Does burying bones directly level Prayer?
The documented Bury action restores Prayer Points. Prayer XP is described separately as coming from using prayers in combat. Recharging a resource and gaining skill levels should therefore not be presented as the same operation.
What is the fastest current Prayer Point farm?
The supplied sources do not establish a current universal winner. Exact demo yields and an old tracker estimate cannot provide a complete live farming benchmark. Check current item values before comparing the methods available to your character.
Official Early Access Trailer
Sources and Further Reading
- Unofficial sequel demo tutorial extraction — Combat, Prayer Points and Bank Bury action
- Unofficial sequel demo tutorial extraction — Prayer-related Firemaking items
- Versioned Bone item record and corroborating demo-derived guide — historical one-point value
- Official Steam Early Access launch FAQ — November 12, 2026
- Official Early Access patch notes — November 17, 2026